Creating Custom Size And Bitrate Files
This Tutorial is best viewed in “720p” and “fullscreen.”
In this tutorial we will cover creating custom pixel size video clips as well as customizing the bit rate.
Oculu provides a set of encode bitrates which we think are the best balance of quality, resolution, storage, and bandwidth to accommodate the various end user devices. The settings can by modified on this page http://my.oculu.com/videouploads/ by selecting “Encoding Settings.”
Video Tab

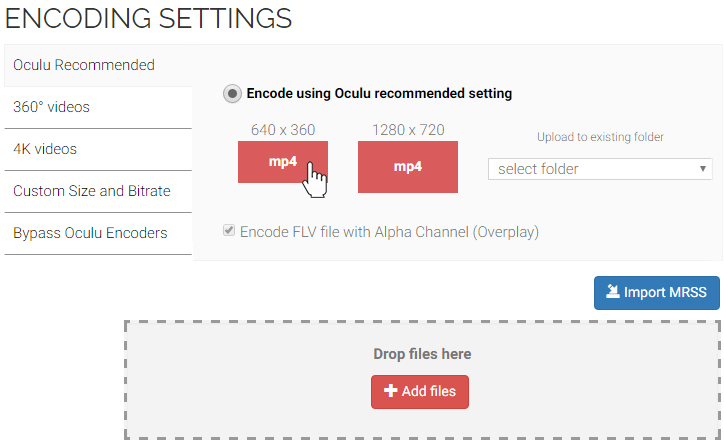
A. Encode using Oculu recommended setting
Here is a breakdown of the encode rates
640×360 – Video=640kbps, Audio=96kbps
640×360 – Video=800kbps, Audio=96kbps
640×360 – Video=1.2kbps, Audio=96kbps
1280×720 – Video=1.2Mbps, Audio=128kbps
1280×720 – Video=2Mbps, Audio=128kbps
1280×720 – Video=3Mbps, Audio=128kbps
B. Encode custom size and bitrate
Select this option to define a specific pixel size for the Oculu encoder. Next choose the desired bitrate.

Once you’ve uploaded successfully, you’ll see a flashing “Processing” sign. Make sure not to close this screen until you’re automatically logged into your Video Dashboard. You’ll know when you see your video title with the status “In Que”. Now Oculu is encoding your file.


Once encoded, your status will change to “Propagating”. Oculu is now sending your file to our cloud network. When your file has been propagated, the status will change to a thumbnail image of your video.


Now, you have a video clip that you want to deliver as lightbox video and you want it larger than 640 x 360 and you also want to increase the bit rate to improve the quality.
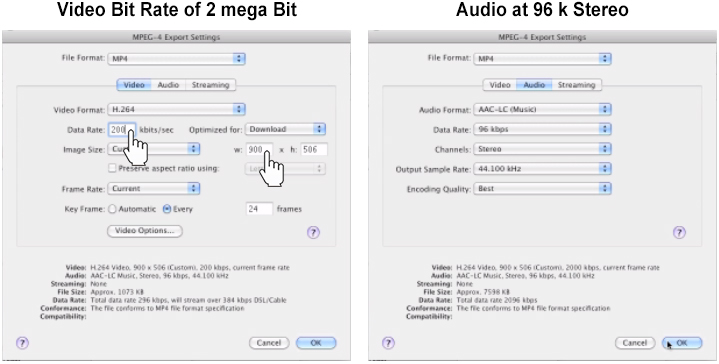
I’ll go through an example here. So I’ve got a video clip that is 1280 x 720 but I’ve decided I want to make this smaller, but proportional, and for a lightbox insertion on a site. The size I’ve settled on is 900 x 506. The first thing I need to do is use quick time pro in this case. I’m going to resize this MP4 format at a bit rate of 2 mega bit and the audio at 96 k stereo. Choose a path and hit save.
The encode is finished.
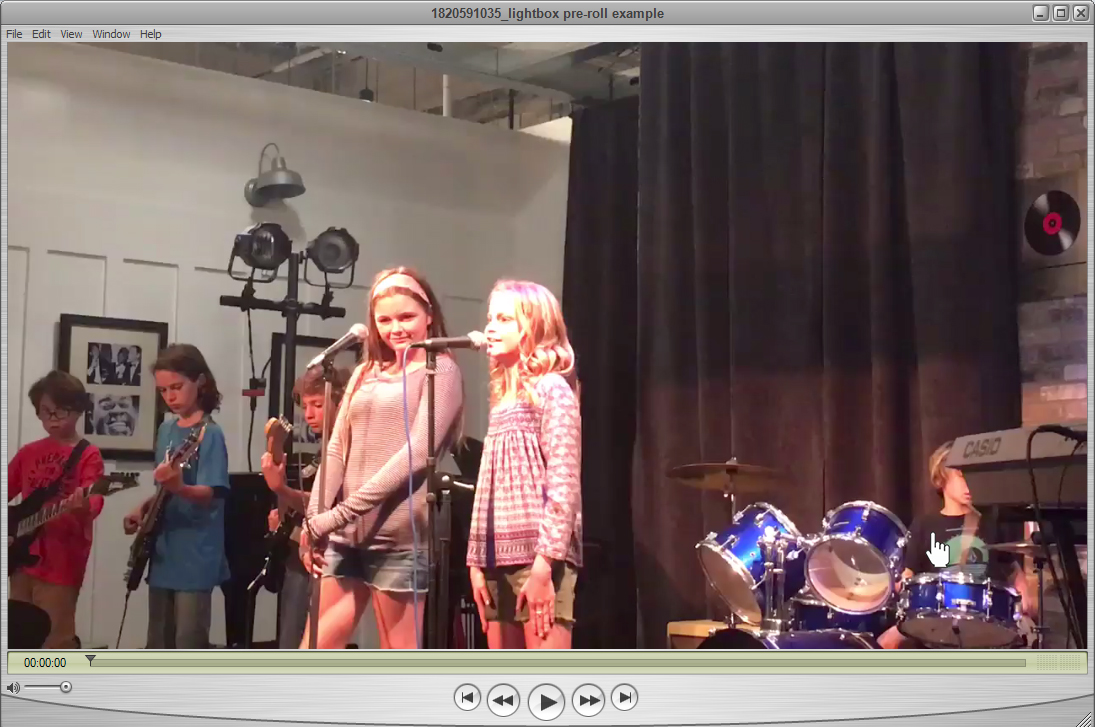
Video Clip in 1280 x 720 px
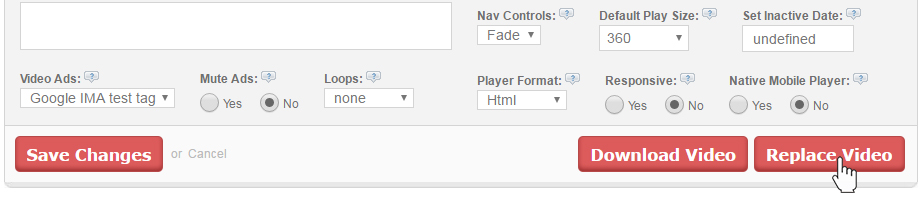
Now, I have a 900 x 506 video clip at 2 megabit and replace with the old video file. Go to the videos tab, choose the desired video title and click on it. Scroll down to Replace Video Button and click on it. Again“Encoding Settings” will be open and choose the Custom Size and Bitrate Tab where they can change video player size as per their desire and upload your new file.
That file is uploaded. It does take 15 to 30 minutes to propogate the file out to the multiple cloud networks in which the Oculu platform resides, so be patient.
Choose the desire video title and click on it
Click on Replace Video Button

Once you’ve uploaded successfully.
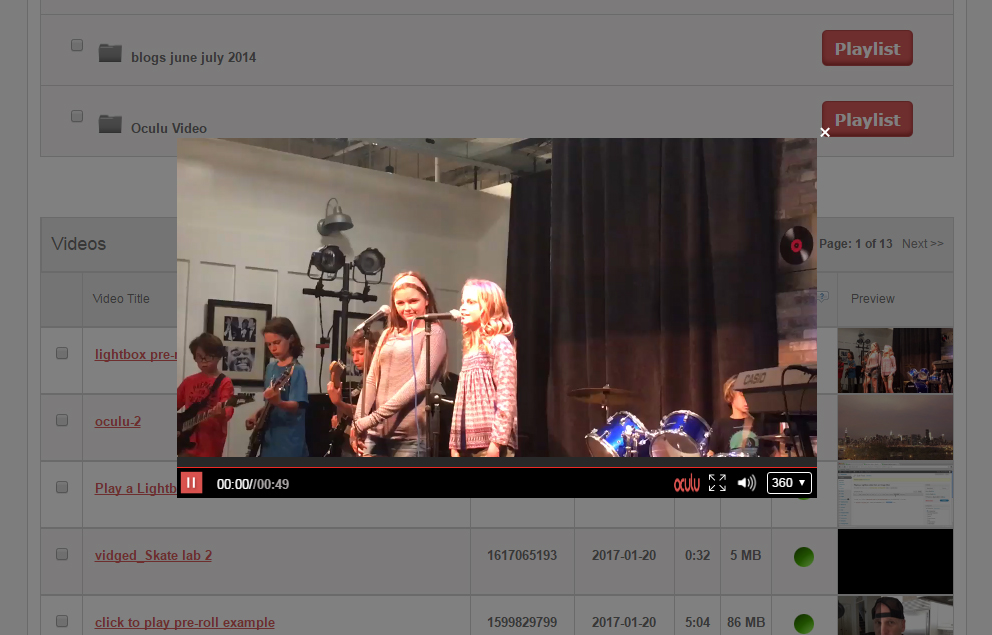
Now I’m going to go back to the videos tab and my title is available for playback and we’ll preview right here. You can see here within the platform the video is displaying at our default size of 640 x 360 even though this encoded MP4 is 900 x 506.
Video Show in 640 x 360 default size
The next step is to choose the desired video title, scroll down to Lightbox Video, get the code, copy the load script, insert it into your Web page, copy the DIV code and paste it into your Web page as well.
Click on Video Title

Next, go to “Start Asset URL.” Select, Create Your Own.” Choose desired frames and click “save.”
Video Start Asset

Create Your Start Asset

Lightbox Video, Get the code

There are two lines of code you need to extract from lightbox video. The first is a load script. The second is the click to play script. By default, Oculu provides a text field (Play Video) for the anchor area and in this case what you need to do is change this out for an image. Here’s a typical image tag, width and height defined, alternate text and the path to the image, as well as an alignment class. That is how you play a lightbox video from an image click.

Select the URL of the video start image and cut it to the clip board so that it is no longer visible in the field. Click on “save changes.”

Go to your Web page and paste the Start Asset URL so you don’t lose it. Here is the example of the code. Paste it on the web page like this only.

This is how a typical WordPress page would look like when the code is placed inside post.

Using the default settings you can see again my video is playing on my page at 640 x 360.
The last step is to go back into your page and fix the div line size dimensions. Change the width and height to correspond to the size of the video file which was uploaded, in this case, 900 x 506. Update. Reload the page.
Change the width and height to correspond to the size of the video file

Here is our finished page. In this case since we only uploaded to the default size, there is no HD option. In an application like this, generally you’ll want to lightbox video one size on the page, and it’s larger than the default so you may or may not want to have a 720 b option for the user to switch to.
Updated size 900 x 506
![Marketing Under the Influence[r]](https://oculu.com/wp-content/uploads/2022/04/marketing-under-influencer.png)